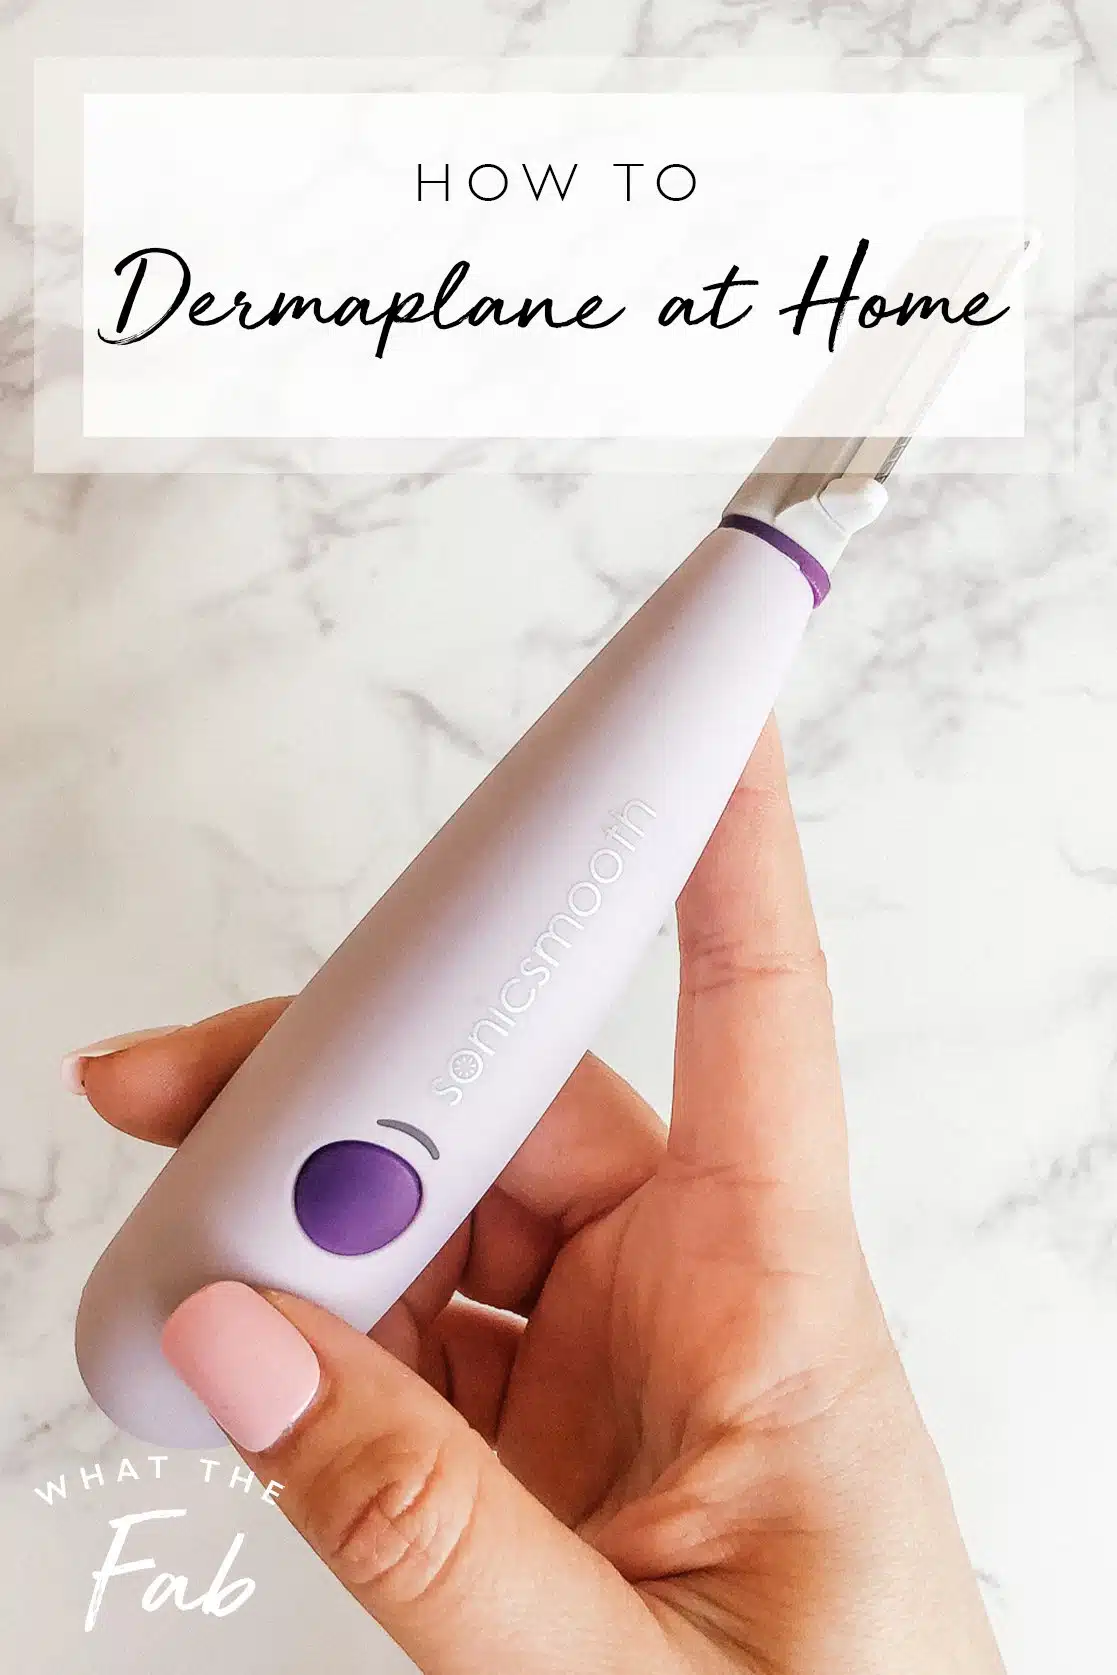
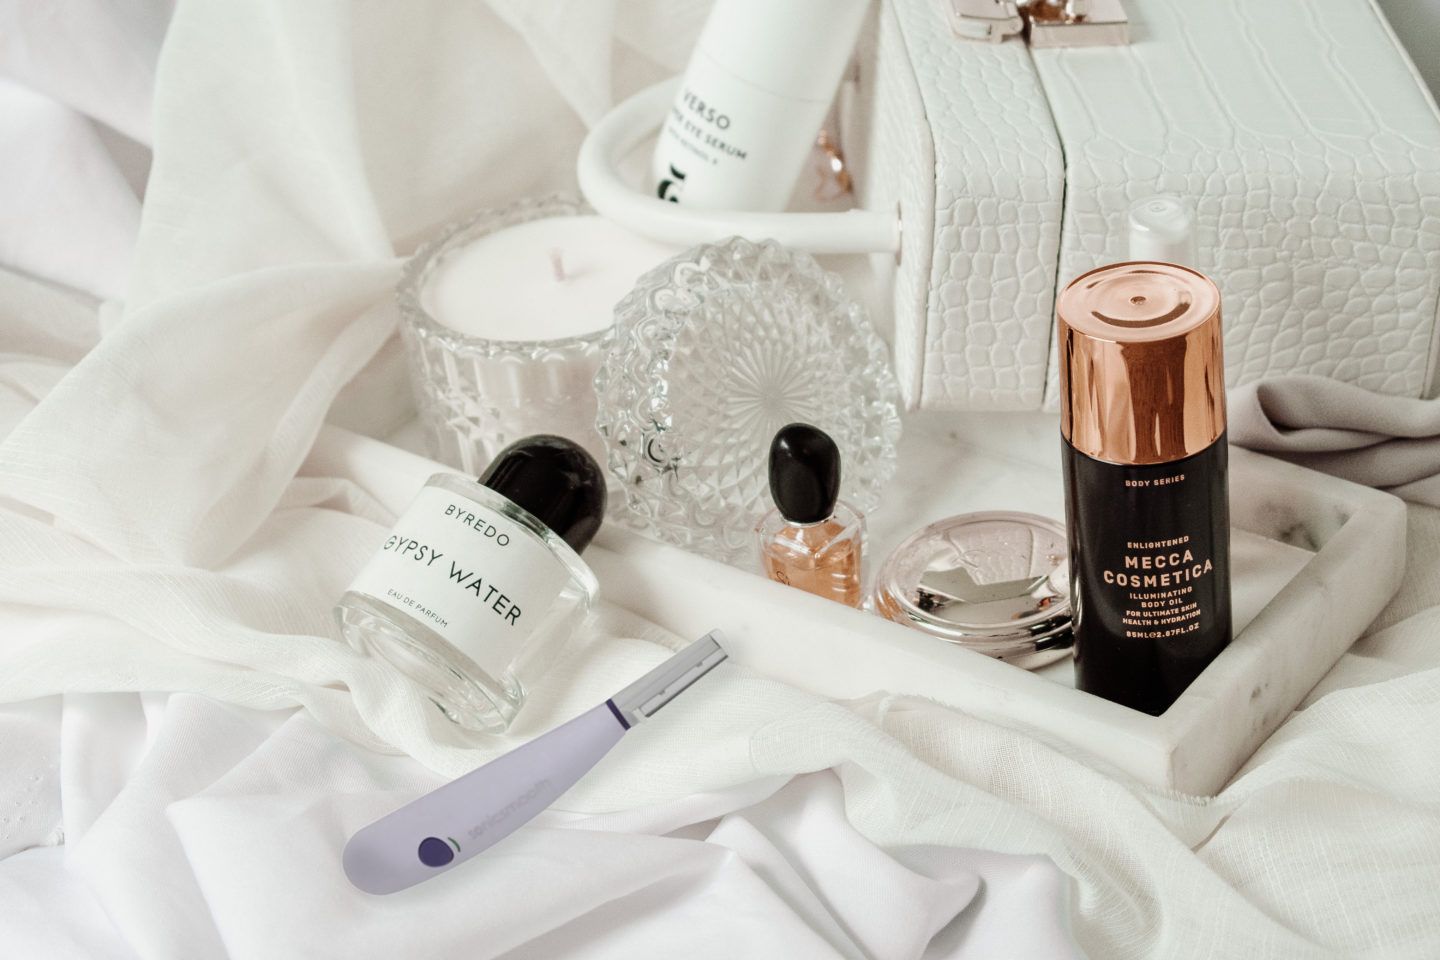
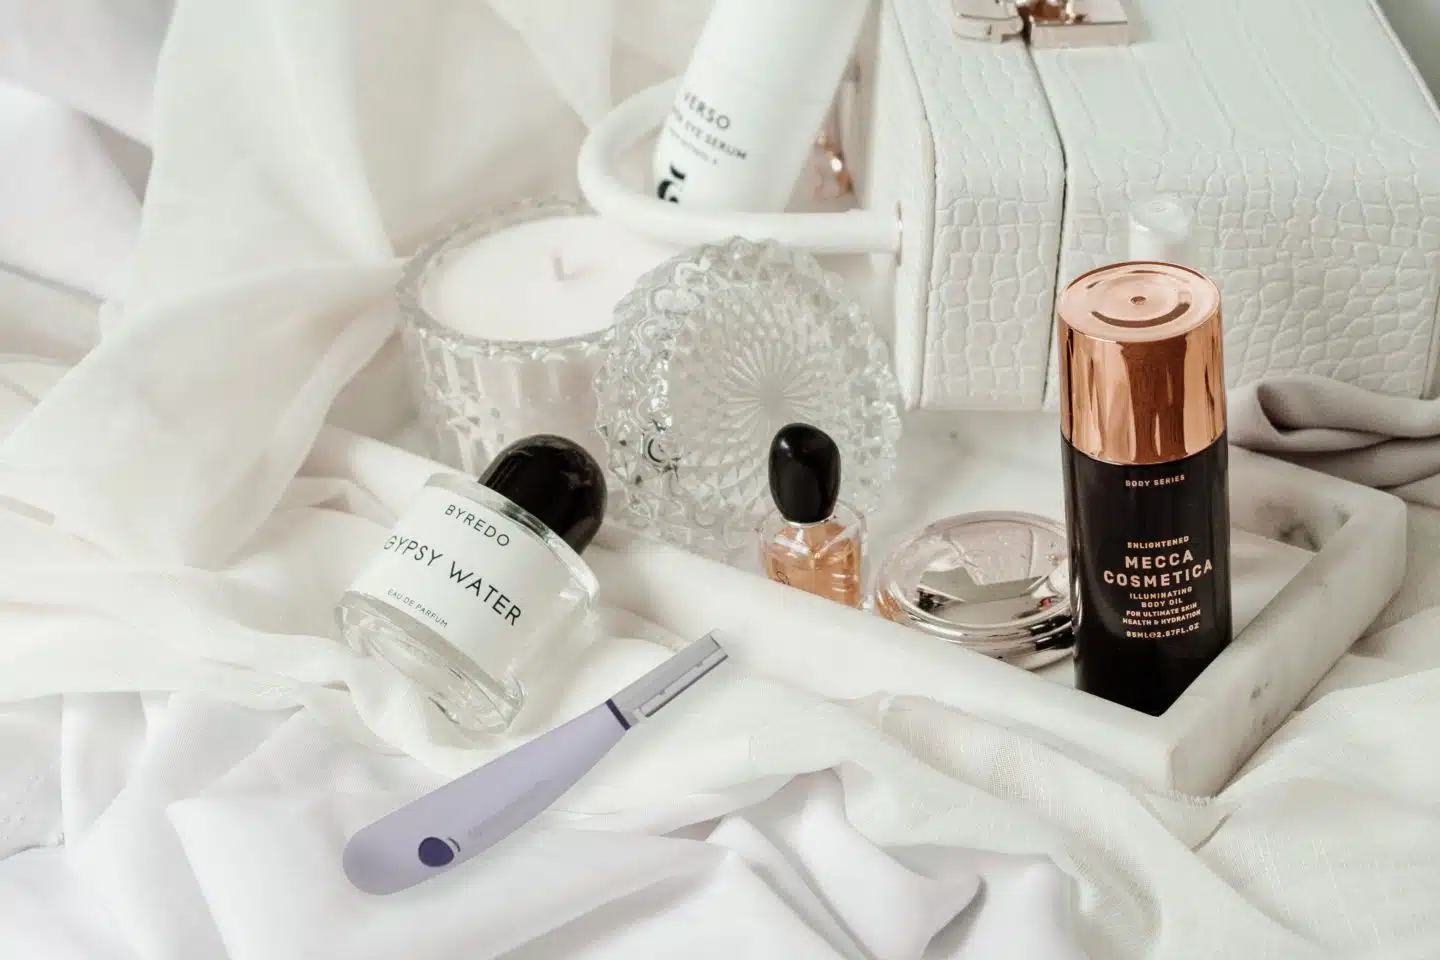
I recently shared on my Insta Stories my latest beauty find, Michael Todd’s Sonicsmooth, and I’m sharing all the deets on how to dermaplane at home.
Today I’m diving into why you need to shave your face, and how to dermaplane at home. It’s probably one of my best beauty tips and it’ll change your skincare routine forever, plus it works on all skin types.
Dermaplaning is the secret to great skin—celebs like Kim Kardashian swear by it for their flawless skin.
While dermaplaning originally could only be performed by a certified dermatologist or medical aesthetician, there are now plenty of safe and gentle tools available so you can get the same results at home.
QVC sent me the Michael Todd Sonicsmooth and I’ve been using it weekly for a while now. After the first try, I fell in love!
You’ll have smooth skin immediately after your first use, and you’ll be excited to see how nicely foundation and other face makeup products look on a fuzz-free face.
Wednesday nights have become my “shave yo face” nights, and I look forward to it so much.😆
Shop for dermaplaning tools and accessories by clicking the images below:

It’s so satisfying to dermaplane away unwanted hair and remove dead skin to reveal soft, glowing skin, and I’m thinking of kicking my at-home dermaplaning routine up to twice a week since my skin has been loving it so much.
I received a lot of questions about dermaplaning after posting about it on my Insta stories (make sure you’re following me @wtfab), which I understand because shaving your face sounds kinda crazy if you aren’t familiar with it!
The most common question I received was whether it makes your hair grow back thicker, and the answer is nope!
I did a lot of research before trying dermaplaning myself because I was worried about that too, and everything I read said this is just a myth. At most when your hair does grow back, it might feel different because the hair was cut straight across, but it’ll grow at the same speed.
I’ve been watching my peach fuzz carefully during the last few months I’ve been dermaplaning and I haven’t noticed any changes in thickness.
Ok, let’s get into it! Here’s everything you need to know about how to dermaplane at home.
Start shopping for products from this guide on how to dermaplane at home by clicking the images below:

How to Dermaplane at Home
Dermaplaning Benefits
Removes facial hair
Dermaplaning removes any peach fuzz on your face. I don’t have a naturally hairy face but I do have some visible fine hair, especially since my hair is black.
I’ve done laser hair removal treatments on my upper lip, but anyone who has done laser knows that your lip is a really tough area to permanently remove hair—it just keeps wanting to come back!
Dermaplaning once a week can not only remove hair from the lip area but the entire face.
Exfoliates and removes the top layer of dead skin
Dermaplaning removes the top layer of dead skin cells from your face to reveal softer, glowing skin.
Improves makeup application
Since your skin will be soft, smooth, and fuzz-free from dermaplaning, your makeup will sit beautifully on the skin after dermaplaning.
Click the images below to shop for everything you need to dermaplane at home:
Helps your skin absorb serums and moisturizers better
Without the top layer of dead skin clogging your pores, all your skincare products will absorb into the skin more easily.
Reduces the appearance of acne scarring
The exfoliation benefits of dermaplaning also help to reduce the appearance of acne scarring!
Gives you smooth, soft, glowy skin
Your skin will be baby soft and feel so smooth after just one at-home dermaplaning session!
Saves money
At a beauty spa, dermaplaning can cost anywhere from $50 to $100 per treatment. You’ll save a ton of money dermaplaning at home since those weekly treatments can add up.
At-Home Dermaplaning Tips
Use the right dermaplaning tool
First and foremost, you need to have the right tool for dermaplaning—you can’t just use the same kind of razor you’d use to shave your legs.
A couple of years ago I saw some beauty bloggers talking about how they dermaplane with the Tinkle Razor, so I bought one to try it out, but my skin was so irritated and itchy!
That first experience scared me away from dermaplaning for a while, TBH.
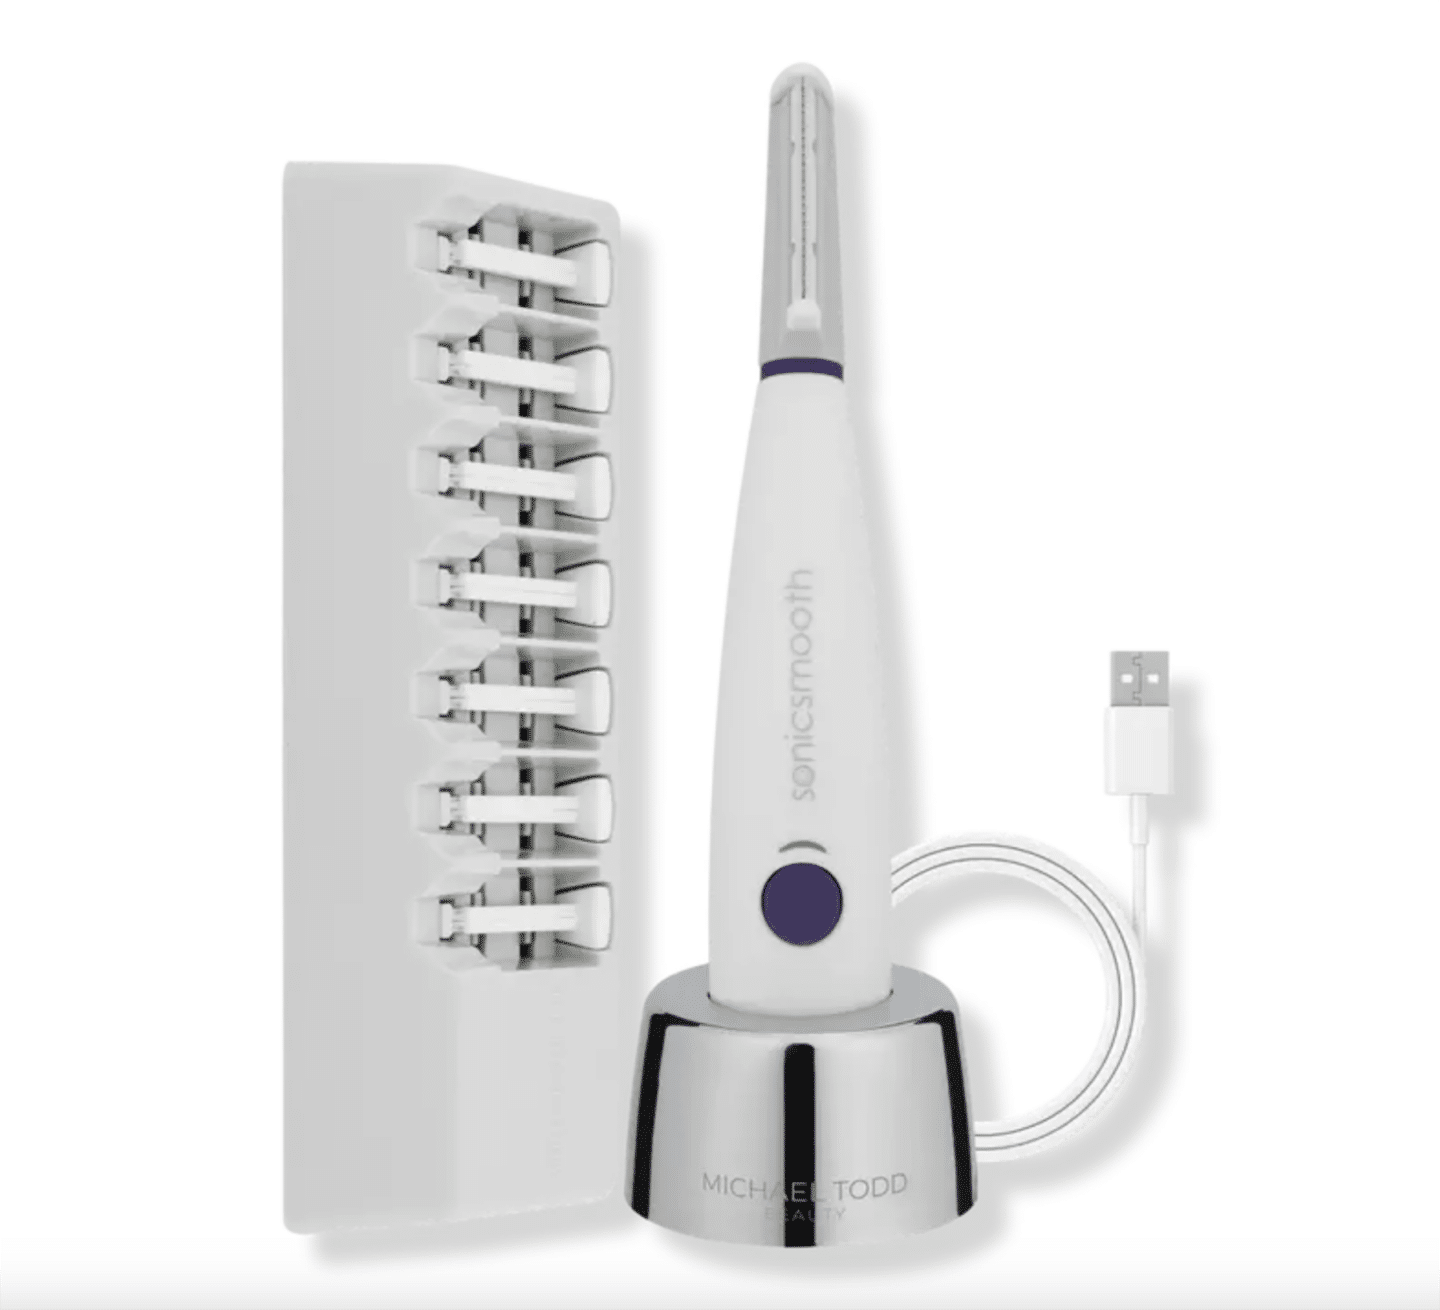
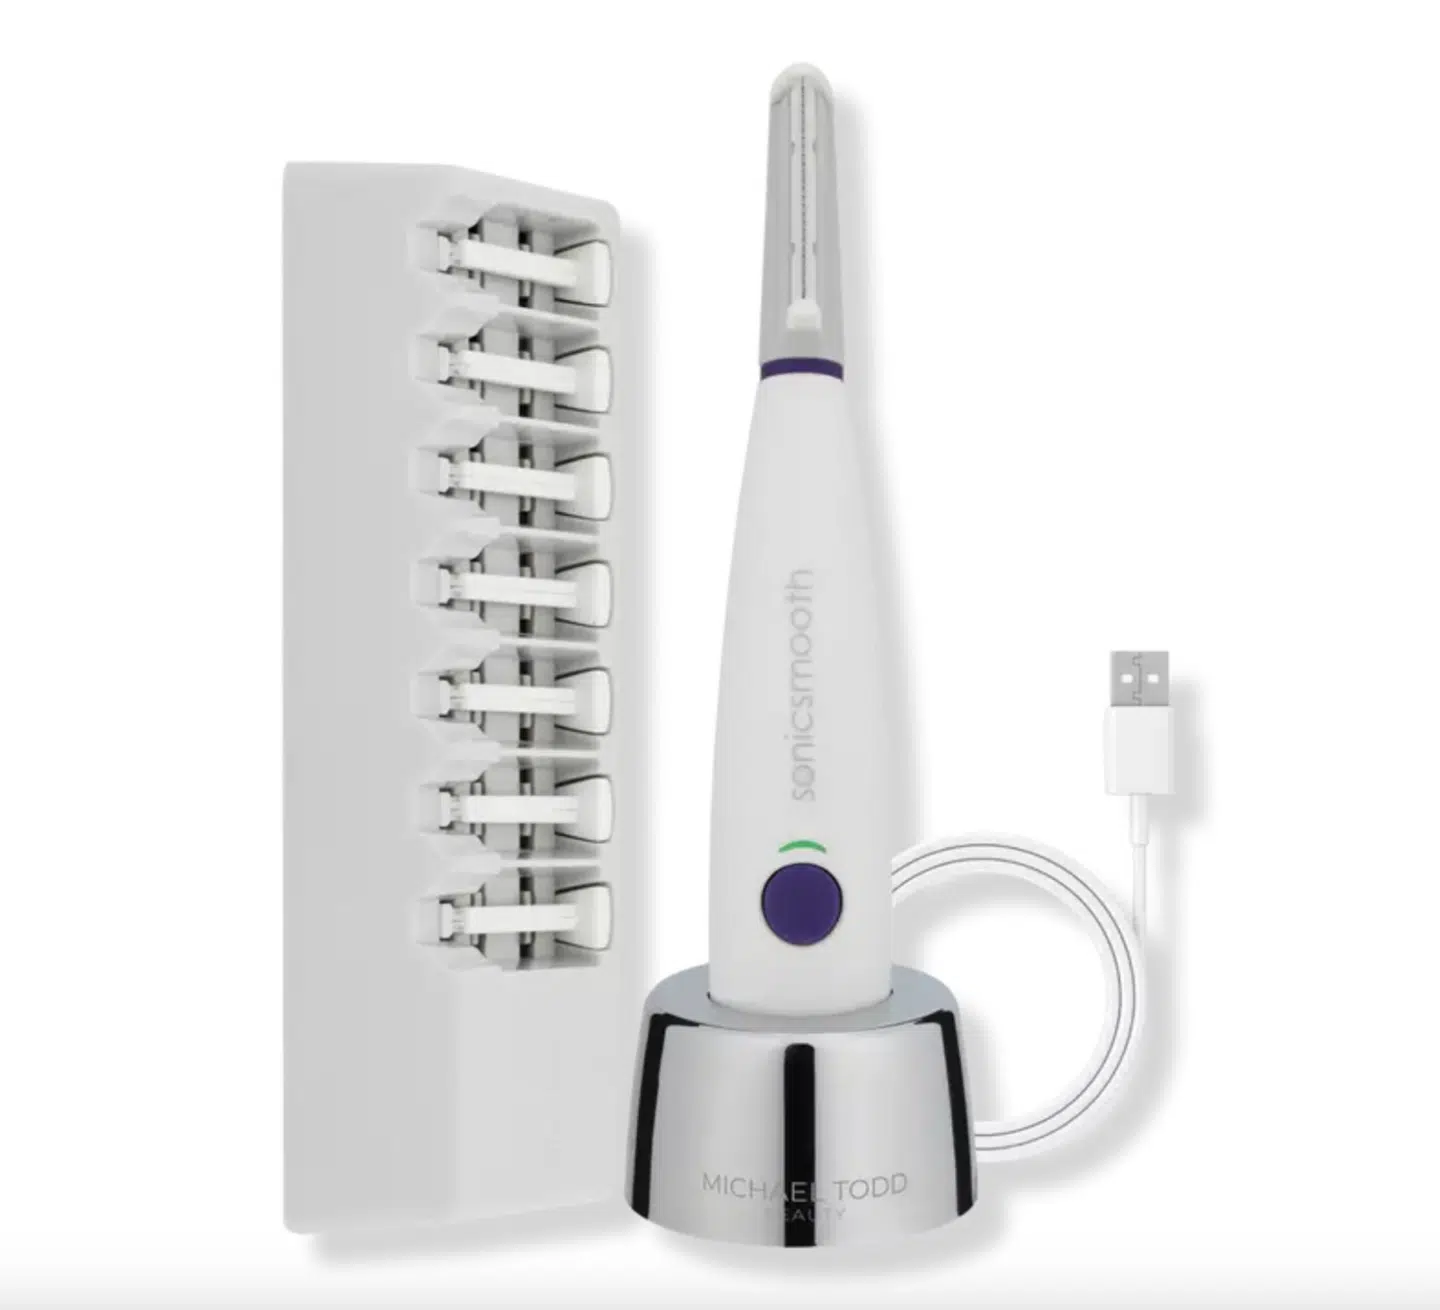
I hadn’t tried dermaplaning again until recently when QVC sent me the Michael Todd Sonicsmooth product.
This tool is specifically designed to be gentle on your skin and has a safety edge rather than a regular blade.
QVC always has great deals on the Sonicsmooth so you can get it for a reasonable price.
I also recommend reading the rave reviews and watching the dermaplaning video tutorial on QVC’s site.
Another great dermaplaning tool is the Hot Shave Razor from The Skinny Confidential, which pairs well with the Hot Shave Cream.
Cleanse your skin
I recommend using a gentle cleanser and patting your face dry before using the Sonicsmooth.
How to Use a Dermaplaning Tool
Hold the Sonicsmooth in your dominant hand, and use your other hand to pull your skin taut. Holding the blade at a 45-degree angle to your face, use light strokes to gently scrape away peach fuzz and dead skin.
You can go back and forth over the same area about three times and then you should move on to the next spot on your face.
Take extra care around areas like your nose, and don’t use around your eye or lip area—I actually do use the Tinkle Razor for removing dead skin around my lips, and it does work wonders for that specific purpose.
Also, take care not to dermaplane over acne or moles.
Frequency
It’s recommended to dermaplane at home once per week, but you can adjust the frequency a bit depending on how your skin reacts. Since my skin has been loving the Sonicsmooth, I’m probably going to bump my routine up to twice a week.
Shop for these dermaplaning tools by clicking the images below:
Who Should Be Cautious About Dermaplaning at Home?
Anyone with acne, eczema, rosacea, psoriasis, or super sensitive skin should avoid dermaplaning and talk to their dermatologist about it first.
That’s the scoop on how to dermaplane at home!
It really is the best, so let me know on Insta (@wtfab) if you decide to give it a try.
Click the images below to shop for everything you need to dermaplane at home:
Looking for more beauty content? Find it here!
The 10 Best Korean Moisturizers You Need to Try
BeautyBio Reviews: Top 10 BeautyBio Products to Try
Best Tatcha Products to Add to Your Skincare Routine
Cute Spring Nails: Must-Have Press-On Nail Designs
FAQs
Yes, it’s absolutely safe to dermaplane at home, as long as you are using the right dermaplaning tools and steps.
It’s best to dermaplane on dry skin with the right dermaplaning tools, as this exfoliates the most dead skin.
No, dermaplaning does not make your hair grow back thicker—this is an old wive’s tale!


Elise Armitage is an entrepreneur and founder of What The Fab, a travel + lifestyle blog based in California. At the beginning of 2019, Elise left her corporate job at Google to chase her dreams: being an entrepreneur and helping women find fabulous in the everyday. Since then, she’s launched her SEO course Six-Figure SEO, where she teaches bloggers how to create a passive revenue stream from their website using SEO. Featured in publications like Forbes, Elle, HerMoney, and Real Simple, Elise is a firm believer that you can be of both substance and style.