I am so excited that I finally have Lightroom presets to share with you all! Today I am sharing a step-by-step guide on how to add presets to lightroom mobile. I hope this tutorial answers all of your questions on how to start using them on your own photos.
Pssst, want to try one of my Lightroom Mobile Presets for free? You can download it below!
Or, you can just get busy with it and shop my Presets below!
How to Install Lightroom Mobile Presets
Step 1:
Make sure to download the free Adobe Lightroom mobile app—you don’t need to have any creative cloud subscription, creative cloud membership, or Lightroom Classic to make an account on the Lightroom mobile app.
Step 2:
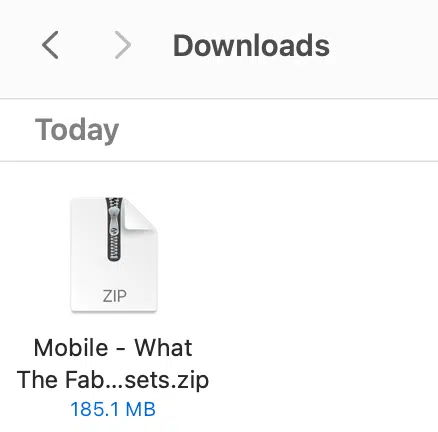
Open the email you received with your presets and download the zip file to your computer or mobile device.

Step 3:
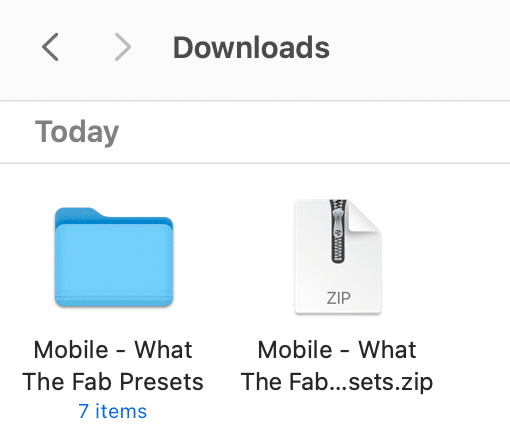
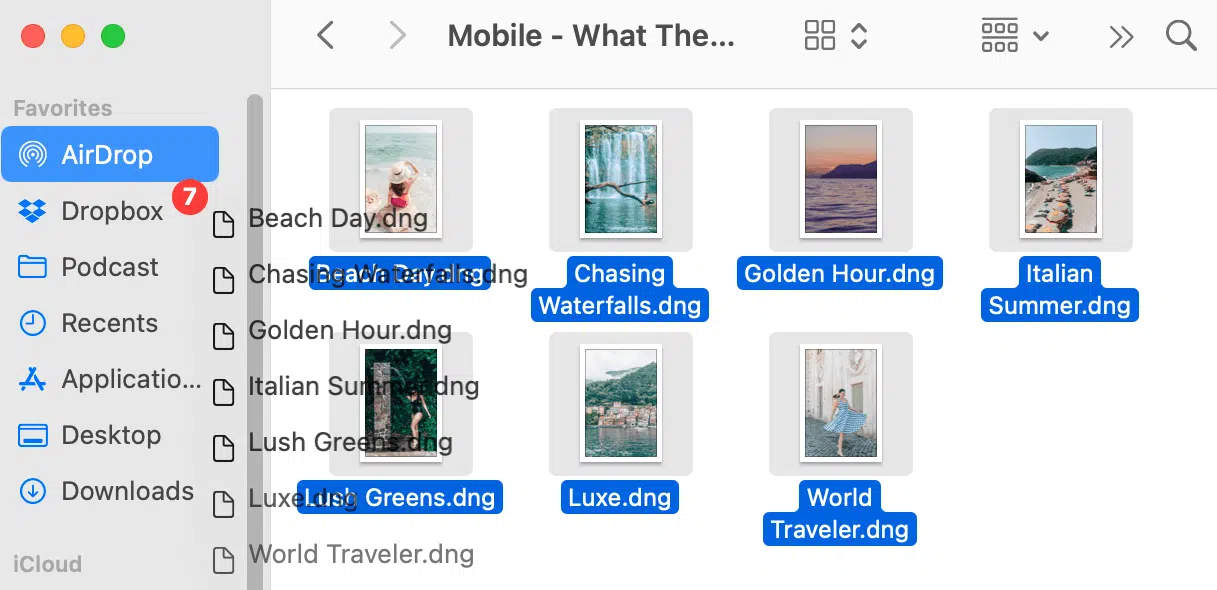
Unzip the presets file by double-clicking it on your computer. Transfer the individual DNG files to your phone.

You can do this by AirDropping them, emailing them, or using DropBox. You can also use an app like iZip to unzip a file on your phone instead of having to unzip them on a desktop, and save them to your camera roll. Then you can open Lightroom mobile.

Step 4:
Open Adobe Lightroom and click the import photo button in the bottom right corner—it looks like a photo frame with a plus sign on top of it. Once you click that, click add from the camera roll.

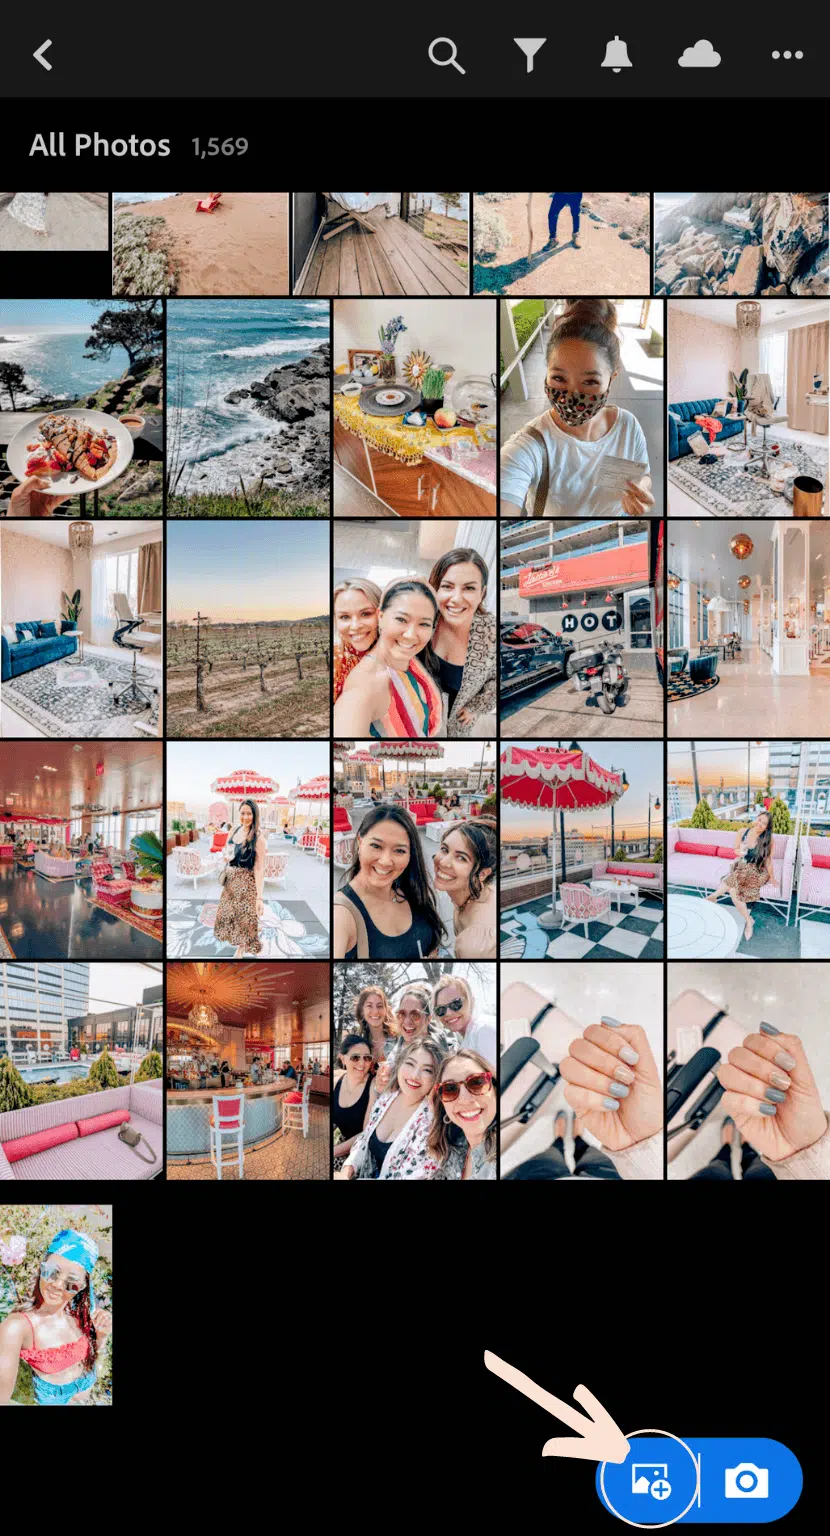
Hold down on a photo to select and add all 7 photos to later install presets. Then click the back button in the top left corner to see the recently added folder.
Step 5:
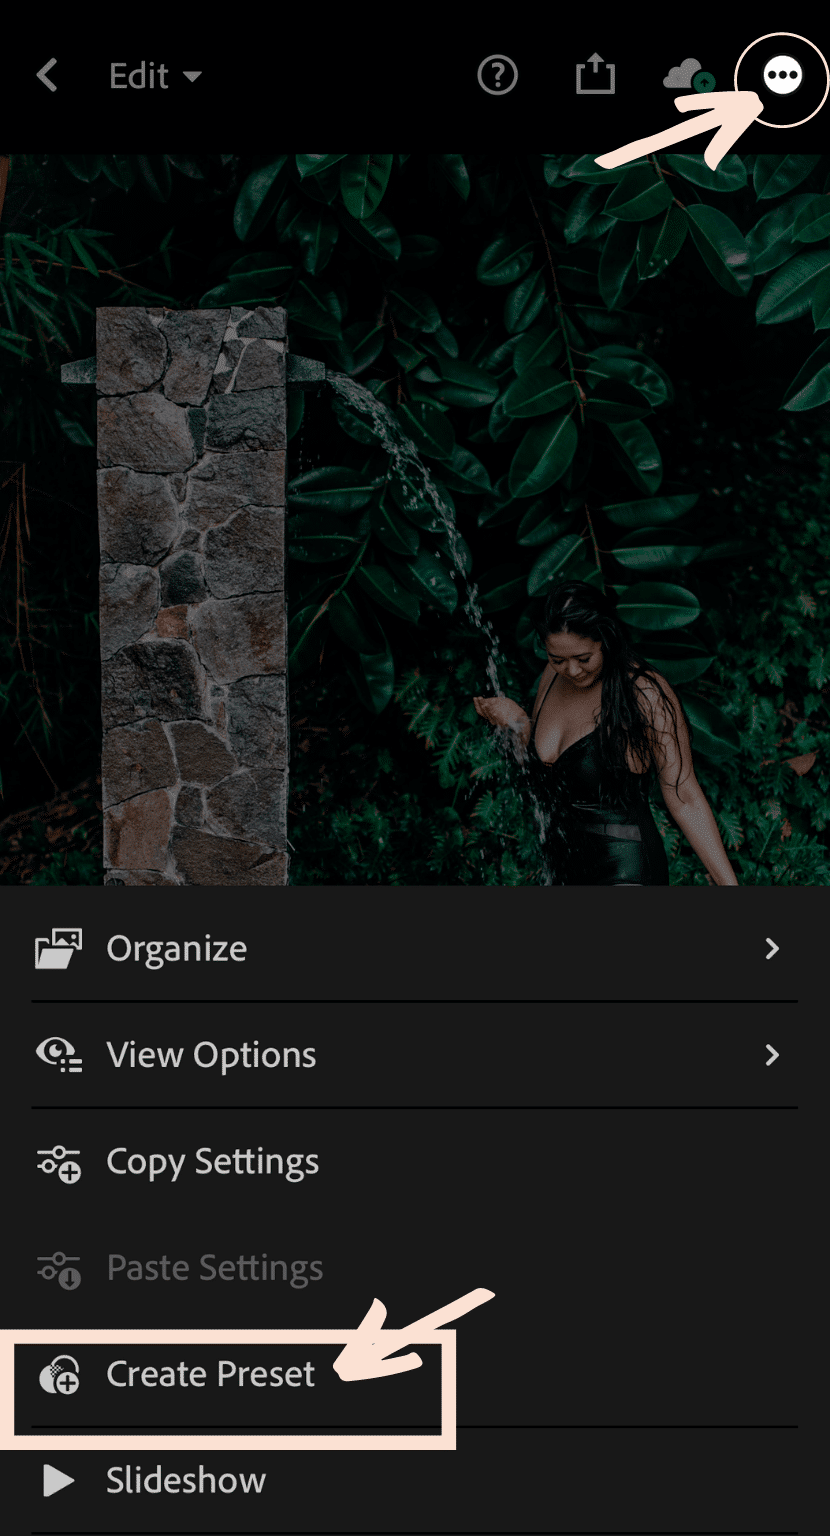
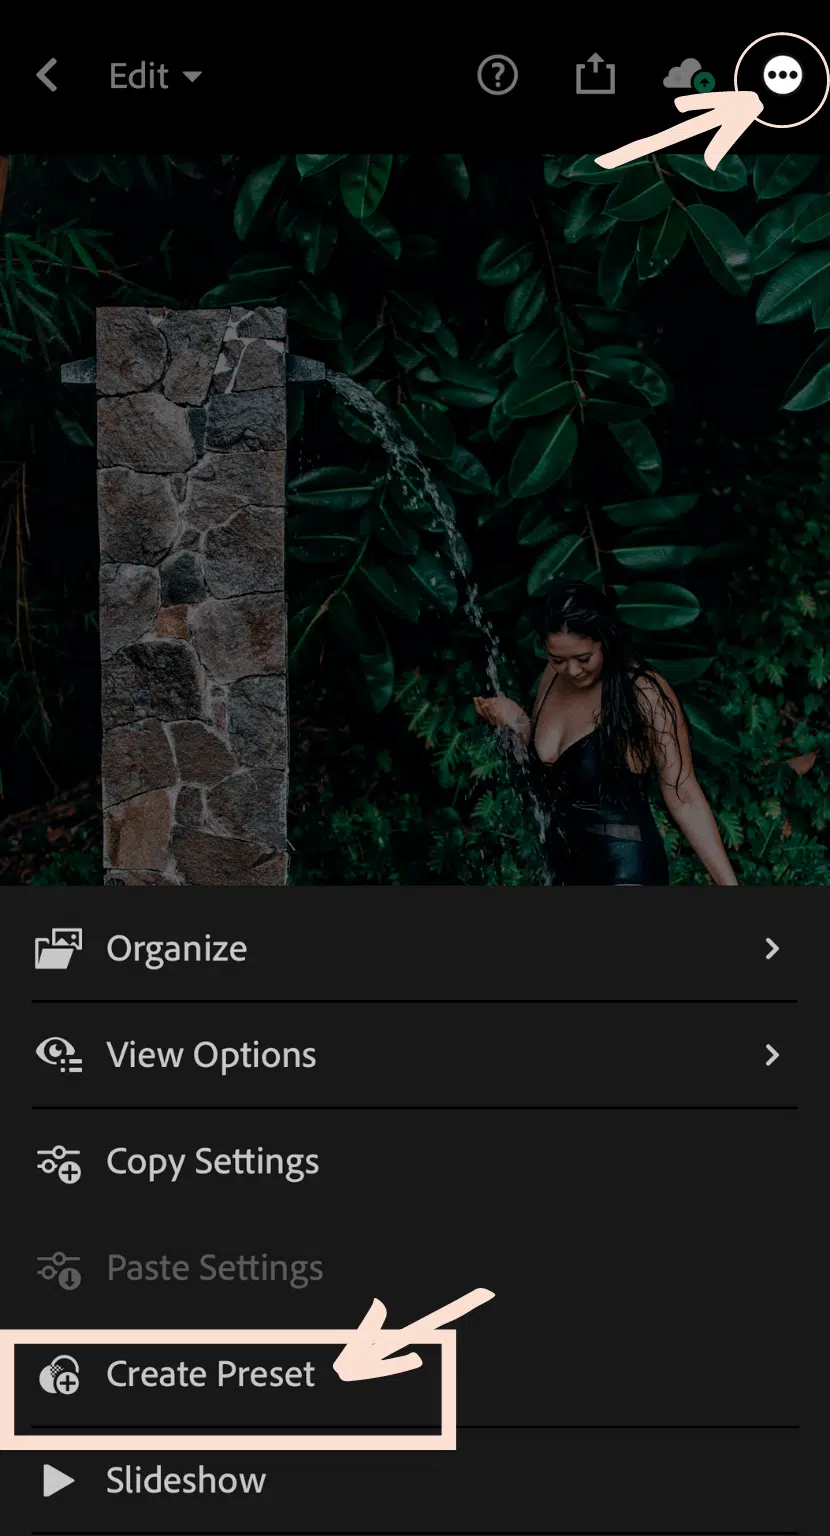
Now that you’re in the recently added folder, click on the first photo from the preset pack. Then click the top right corner with the three dots. From there, the create preset option will come up so click that.
Step 6:
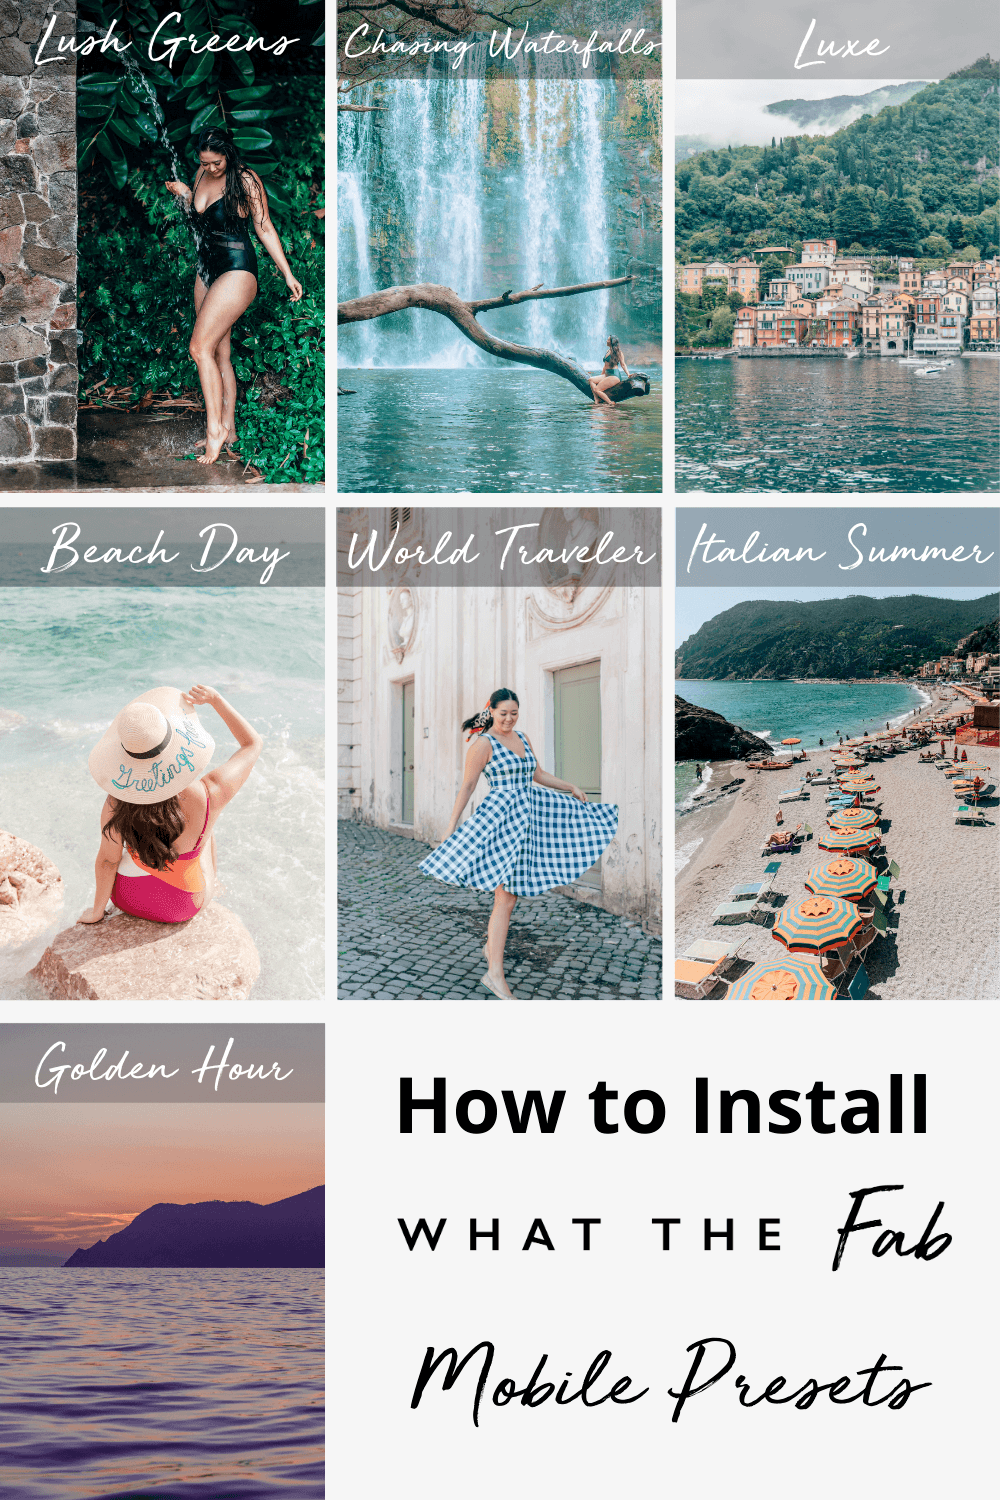
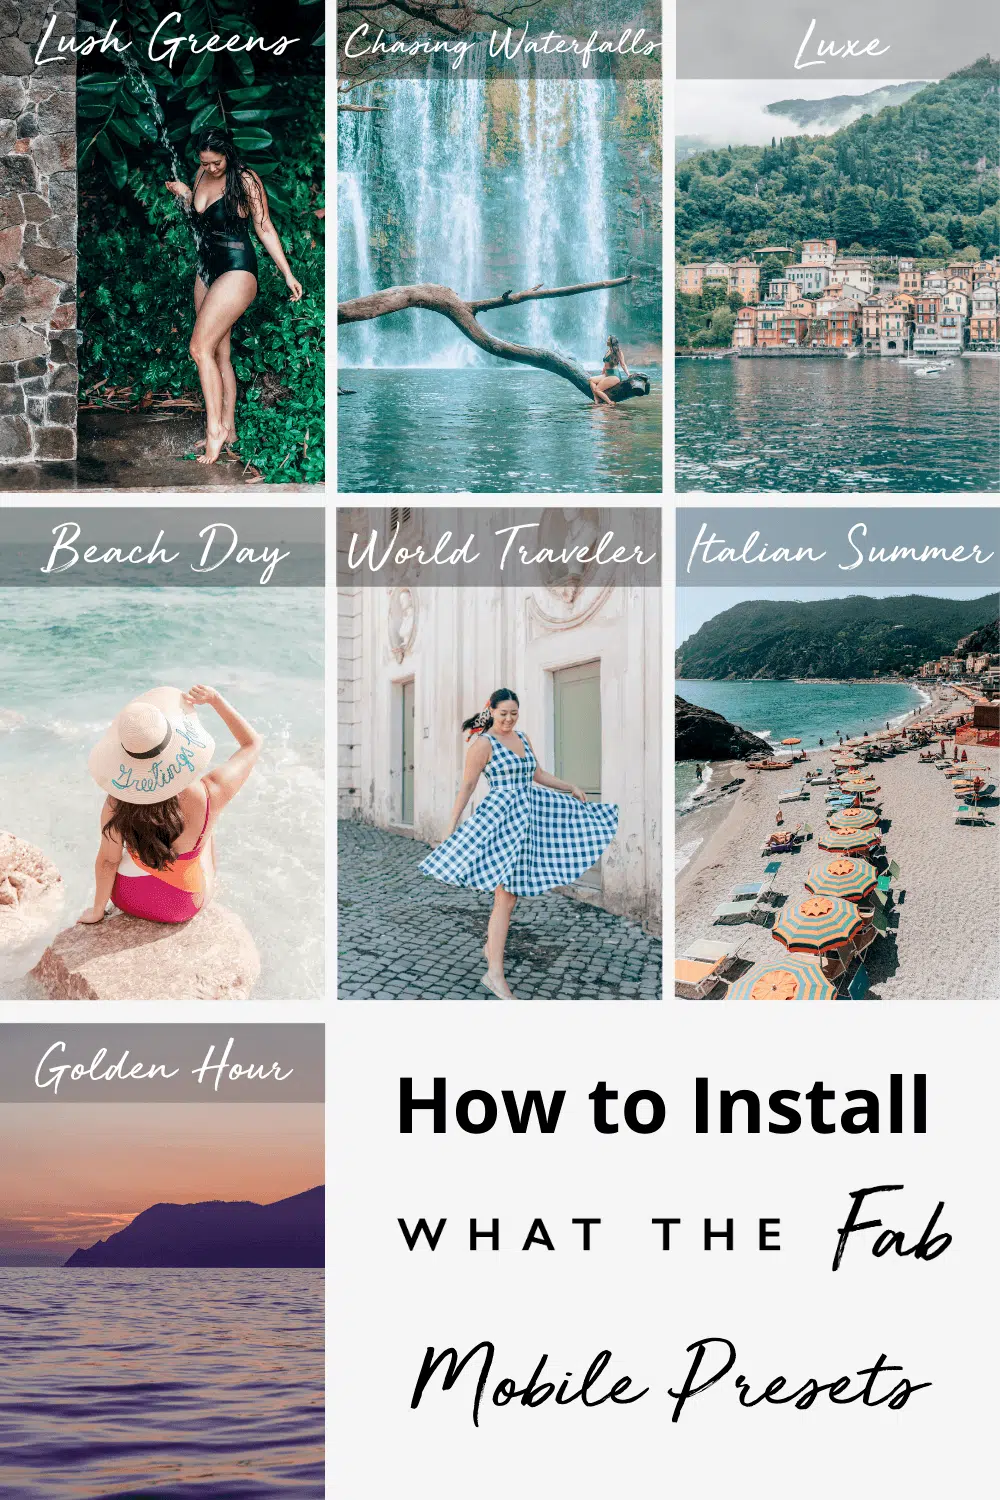
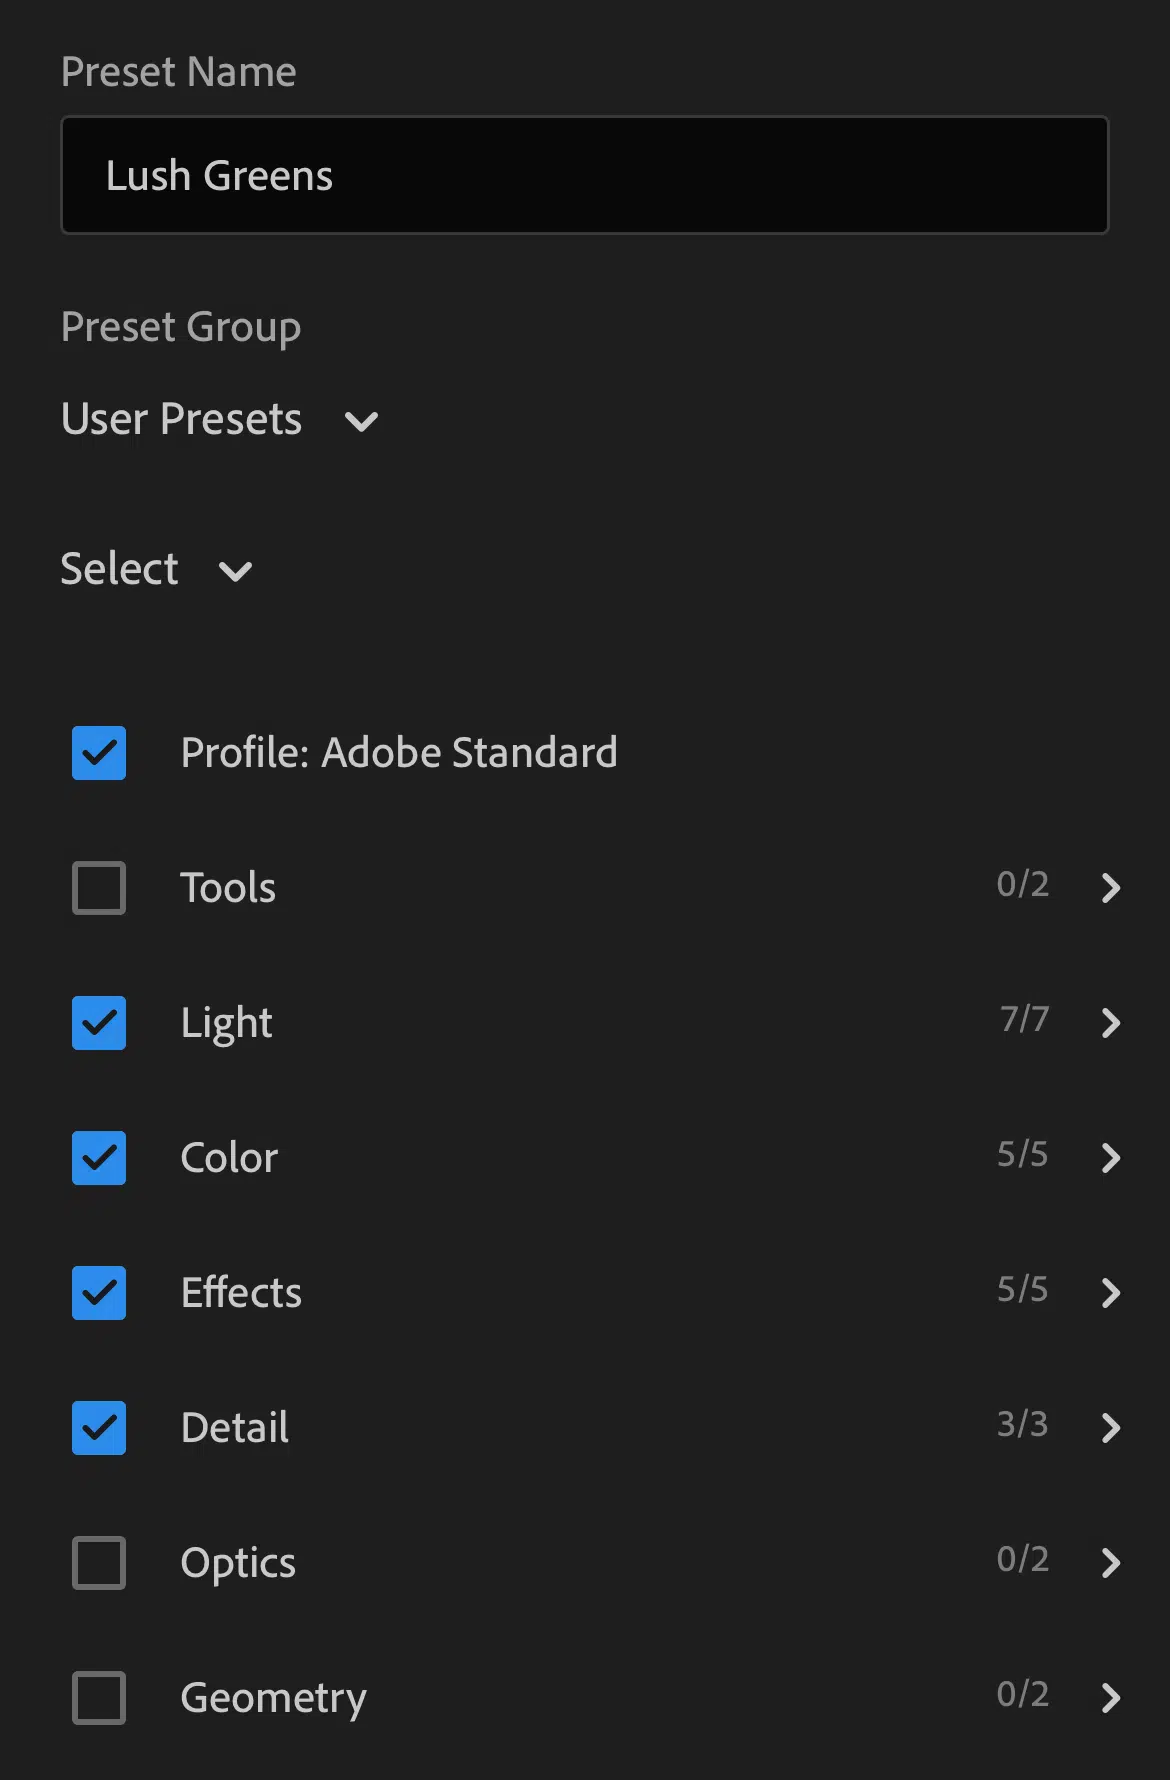
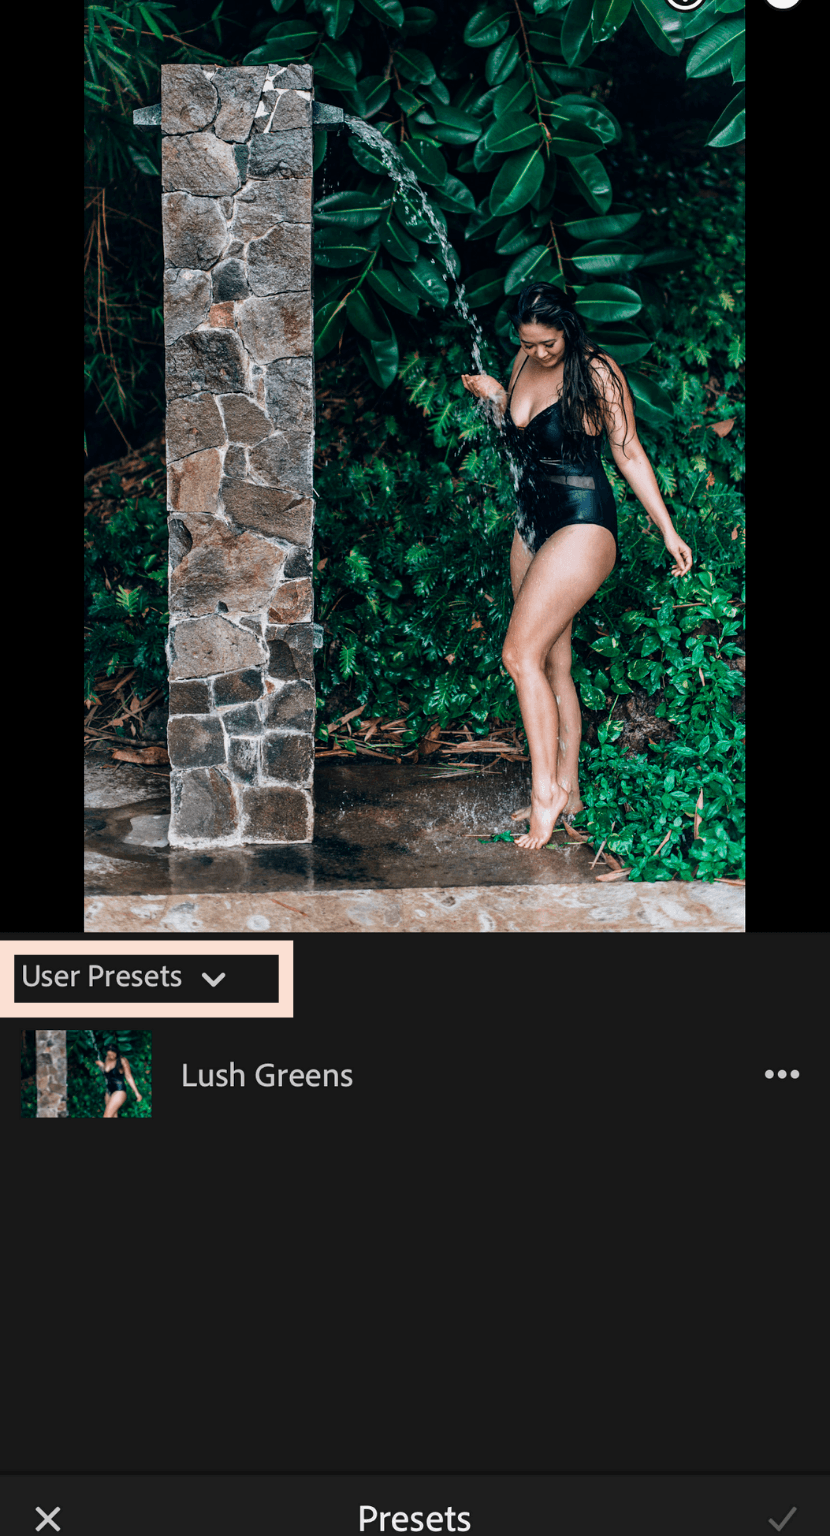
You can name the presets after the file name I’ve assigned per image. So for example, this one is called “Lush Greens”. Note: you don’t need tools, optics, or geometry checked. Then hit the checkmark in the top right to confirm adding the new preset.

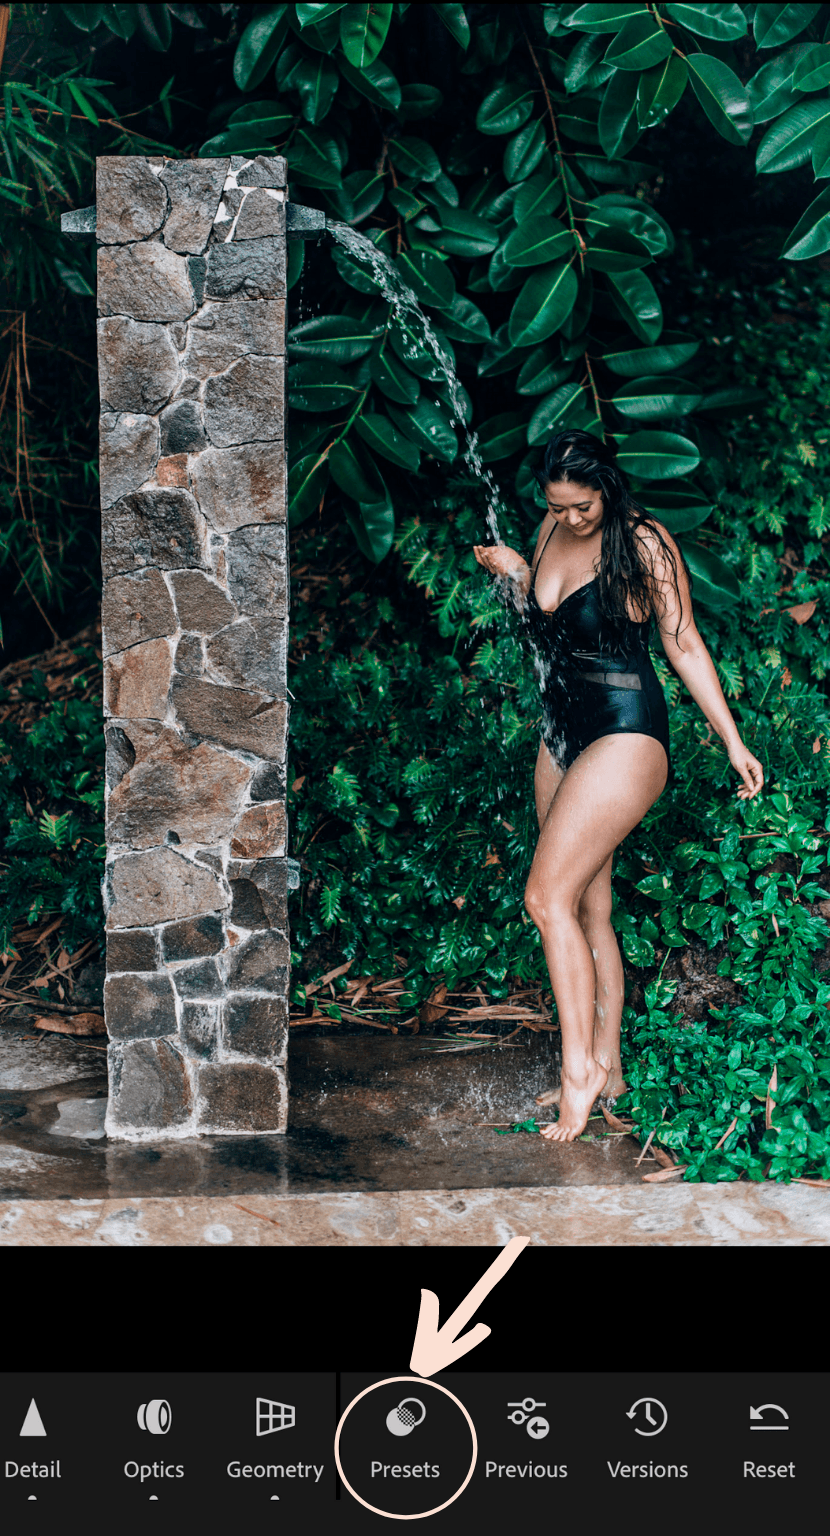
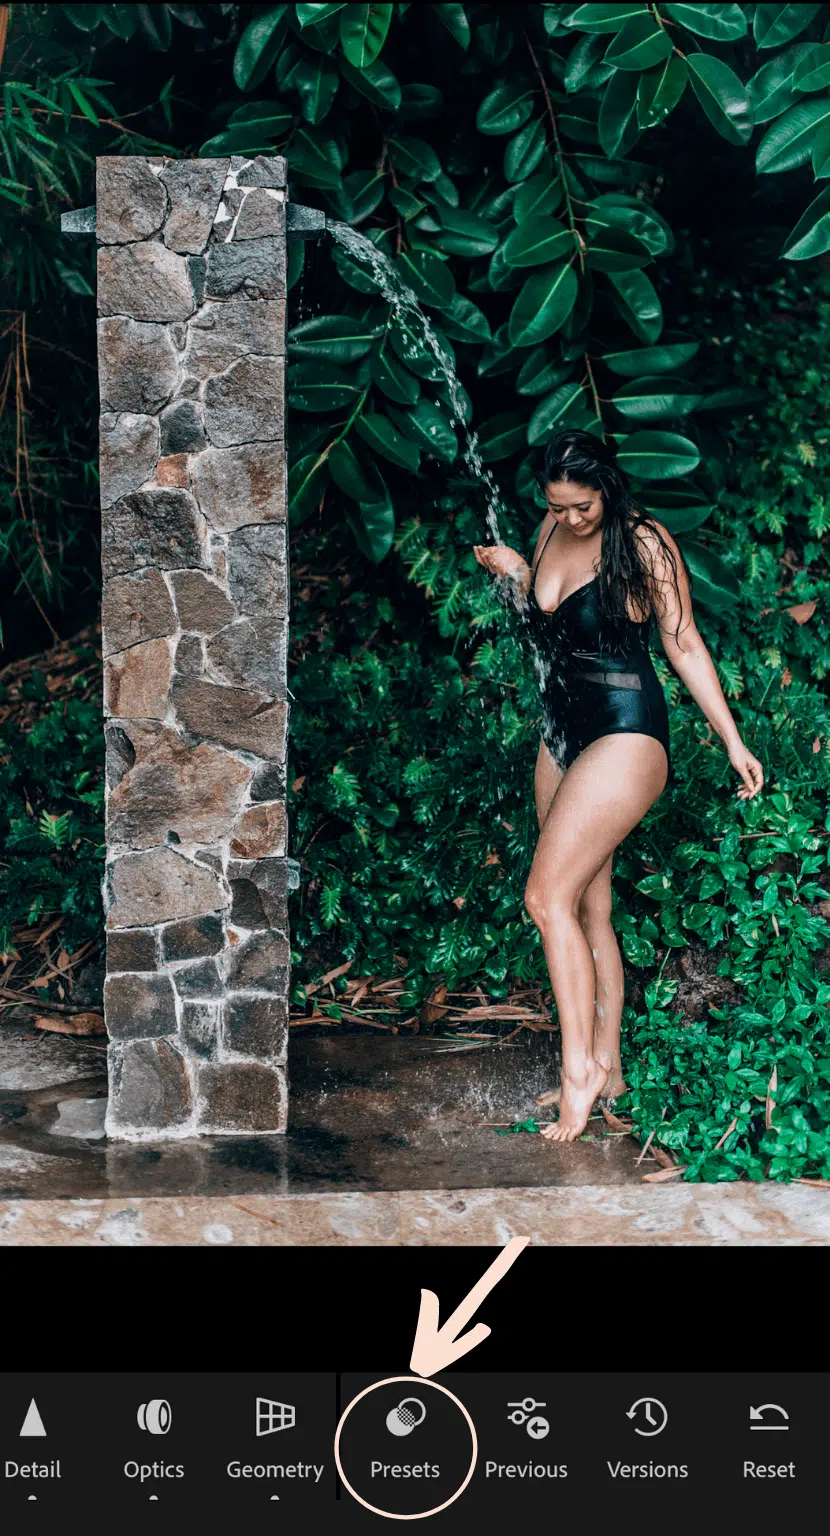
To make sure that worked and imported, click presets, and you should see the one you just added under user presets.
Step 7:
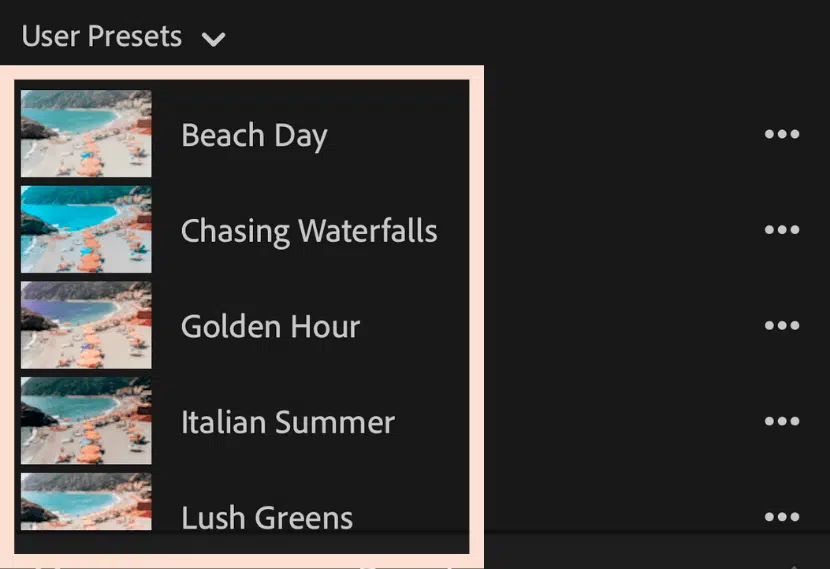
Repeat step 6 to install lightroom presets to all the DNG files you downloaded. The presets will look like this.

Step 8:
Enjoy editing with the new presets you just downloaded!
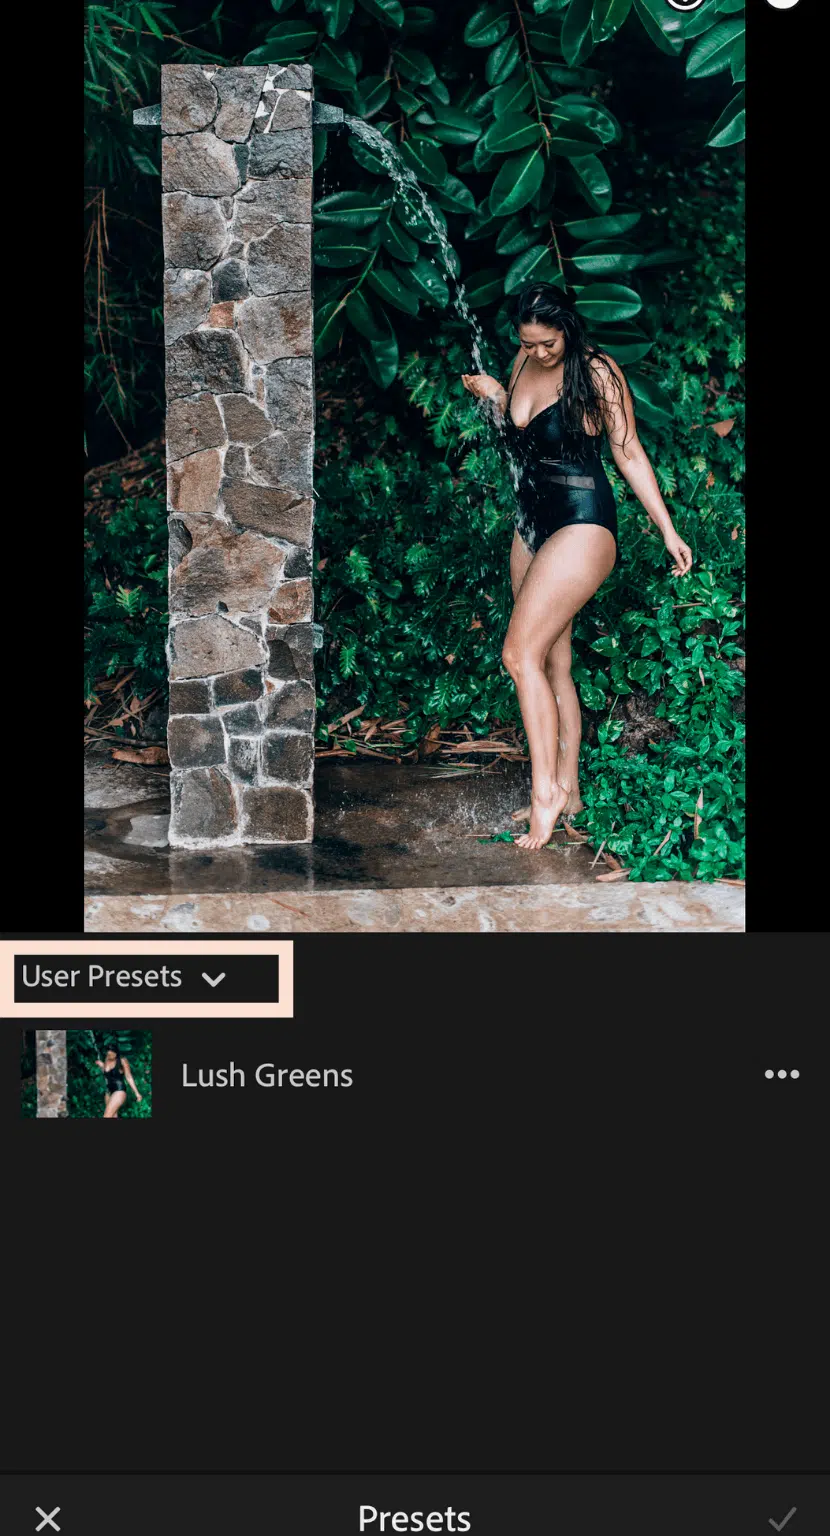
You can play around with the settings depending on how the presets look on your photos. To see the difference just hold down on the image and Lightroom will show the before and once you let go you see the after.
Those are all the steps to install presets in Lightroom mobile and add presets to the Lightroom app. I can’t wait to see how you all edit your photos! Be sure to tag me (@wtfab) so I can see your edits.
Shop What The Fab Presets below!


Elise Armitage is an entrepreneur and founder of What The Fab, a travel + lifestyle blog based in California. At the beginning of 2019, Elise left her corporate job at Google to chase her dreams: being an entrepreneur and helping women find fabulous in the everyday. Since then, she’s launched her SEO course Six-Figure SEO, where she teaches bloggers how to create a passive revenue stream from their website using SEO. Featured in publications like Forbes, Elle, HerMoney, and Real Simple, Elise is a firm believer that you can be of both substance and style.